
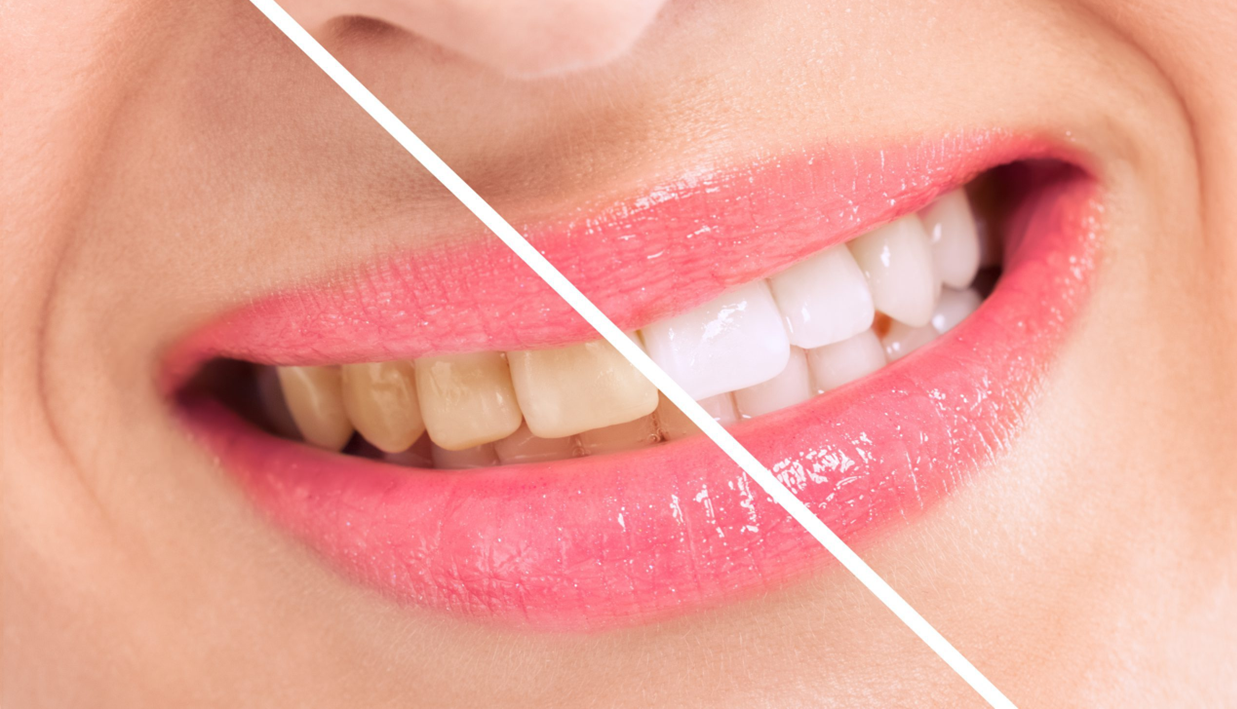
The procedure for teeth whitening typically varies based on whether it's done professionally in a dental office or at home using over-the-counter products. Here’s a detailed step-by-step explanation of both methods:
Professional In-Office Teeth Whitening Procedure at NOVORIS:
- Initial Consultation:
- Before starting the whitening procedure, you'll have an initial consultation with us. We will examine your teeth and gums to ensure they are healthy and suitable for whitening.
- Any existing dental issues, such as cavities or gum disease, may need to be treated beforehand.
- Pre-Treatment Shade Assessment:
- We will take photographs or use a shade guide to determine the current colour of your teeth. This serves as a baseline to measure the whitening progress.
- Preparation:
- To protect your gums and soft tissues, a barrier or protective gel is applied around the gum line.
- Sometimes, a cheek retractor is used to keep your lips and cheeks away from the teeth being treated.
- Application of Whitening Gel:
- A professional-strength bleaching gel containing hydrogen peroxide or carbamide peroxide is applied directly to the teeth.
- Depending on the system used, the gel may be activated by a special light or laser to enhance the whitening process if required.
- Activation and Waiting Period:
- The whitening gel remains on your teeth for about 15 to 30 minutes. During this time, the bleaching agent penetrates the enamel to break down stains and discoloration.
- Rinse and Repeat:
- The gel is then removed, and the process may be repeated for several sessions, depending on the desired level of whitening and the system used.
- Post-Whitening Evaluation:
- Once the desired shade is achieved, we will evaluate the results and discuss any necessary post-treatment care instructions.
- Post-Whitening Sensitivity Management:
- Some patients may experience temporary tooth sensitivity after whitening. We recommend fluoride treatments or desensitizing agents to alleviate discomfort.
At-Home Teeth Whitening Procedure (Using Custom-Fit Trays):
- Custom Tray Fabrication:
- Your dentist takes impressions of your teeth to create custom-fit whitening trays that fit snugly over your teeth.
- Custom trays ensure even distribution of the whitening gel and minimize contact with gums, reducing the risk of irritation.
- Instructions and Gel Application:
- Your dentist provides you with professional-strength bleaching gel and detailed instructions for use.
- A small amount of gel is placed into each tray cavity before fitting them onto your teeth.
- Wear Time and Duration:
- You wear the trays for a specified amount of time each day, typically 30 minutes to several hours, depending on the concentration of the bleaching agent.
- Daily Routine:
- Repeat the process daily for about one to two weeks or as recommended by your dentist, until you achieve the desired level of whitening.
- Monitoring Progress:
- Monitor the whitening progress regularly and consult with your dentist if you experience any sensitivity or discomfort.
- Maintenance and Follow-Up:
- After achieving the desired results, maintain your whitened smile with occasional touch-up treatments and regular dental check-ups.
Considerations:
- Professional Supervision: In-office treatments offer faster results and are supervised by dental professionals, ensuring safety and efficacy.
- Customization: Custom-fit trays for at-home use provide personalized treatment and minimize the risk of gum irritation compared to over-the-counter products.
- Results and Maintenance: Results vary based on individual factors such as initial tooth colour and habits like smoking or consuming staining foods and drinks. Good oral hygiene and periodic touch-ups help maintain a bright smile over time.
Conclusion:
Whether you choose professional in-office whitening or at-home treatments with custom-fit trays, consulting with your dentist is crucial to ensure the safest and most effective teeth whitening experience.


